naco

naco.media.box

An all-in-one FPV media box — stream your analog / DJI drone feed to any browser or HDMI screen, plus browse, convert and trim your SD-card drone footage.

Runs on a Raspberry Pi 4 or a Raspberry Pi 5 — powered by an external 5V supply or a UPS.

NEW Direct (Goggles 3 only!) live view supported in tab Live

Prerequisites

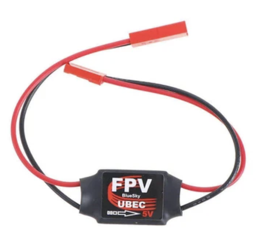
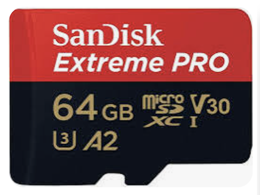
  • A Raspberry Pi 4 or Raspberry Pi 5 (1GB is enough on either) and a microSD card. Power it from a dedicated external supply or a UPS / battery pack 5.1V / 3A for a Pi 4, 5.1V / 5A for a Pi 5 (mains supply, a BEC regulator, or a UPS). A weak or shared supply is the most common cause of random reboots: under sustained encoding the Pi browns out and restarts rather than reporting an error. A Pi 5 draws noticeably more than a Pi 4 — don't reuse a 3A Pi 4 supply for it.
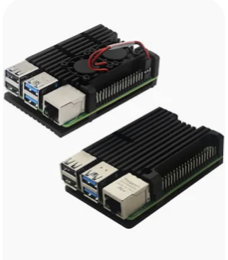
    A cooling module is optional on a Pi 4 and recommended on a Pi 5.
    Download the image that matches your board — Pi 4 and Pi 5 images are not interchangeable.
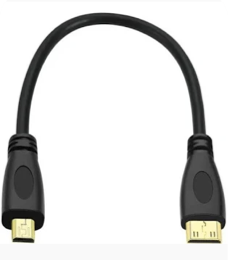
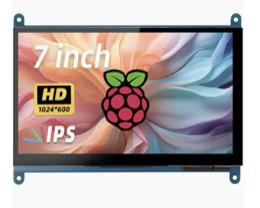
  • For screen output: a micro-HDMI → HDMI cable and an HD screen with an HDMI input.
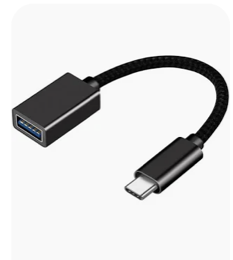
  • For the DJI feed: DJI Goggles 2 / 3 and a USB OTG data cable plugged into the Pi's USB-C port (ideally an OTG converter with a USB-A → USB-C cable).
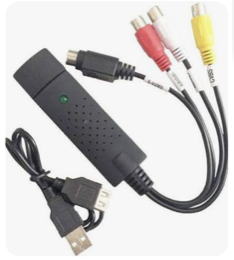
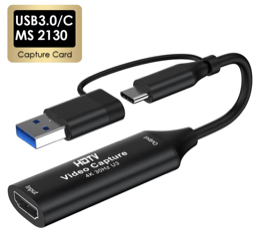
  • For any other video source: a USB TV card that plugs into the Pi's USB-A port and converts the video (HDMI video card / analog RCA / S-video, etc.). E.g. this EasyCap capture adapter, or HDMI-to-USB converter.

Each build is licensed to a single Pi. Beta licenses are usage-limited.
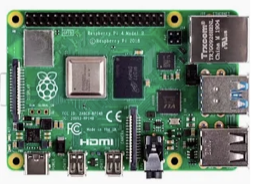
Raspberry Pi 4 or 5
Pi 4 / Pi 5
External 5V supply, BEC regulator or UPS
5V / BEC / UPS
microSD card
microSD
Pi cooling case
Cooling
micro-HDMI to HDMI cable
HDMI cable
HD screen with HDMI input
HD screen
USB-C OTG adapter
USB-C OTG
USB TV capture card
USB capture
HDMI-to-USB video capture card
HDMI capture
📺 Watch the setup tutorial

Get started

  1. Download the SD-card image, then flash it with Raspberry Pi Imager:

    Latest: v1.20.1 — what's new

    • Choose Device → your board (Raspberry Pi 4 or Raspberry Pi 5)
    • Choose OS → scroll to Use custom → pick the downloaded .img.xz file
    • Choose Storage → your SD card, then Write
    • If it asks about OS customisation, choose No — the box sets itself up.
  2. Power the Pi from the GPIO 5V pins (pin 4 = +5V, pin 6 = GND) — the USB-C port is the data link to the goggles, so it can’t power the Pi. Use an external supply or UPS rated for your board — 5.1V / 3A for a Pi 4, 5.1V / 5A for a Pi 5.
  3. Connect to your box’s wifi network — it’s named naco.local_XXXX (each box has a unique 4-character suffix) — password 12345678, then open http://naco.local.
  4. Find your device serial on the box’s screen (HDMI) or its web page, then request a license below.
  5. When your license is issued, drop naco_license.key onto the SD card’s boot partition (or upload it on the box’s page) and reboot.

NEW Direct live view supported in tab (Goggles 3 only!) Live

Watch your DJI goggles 3 on your own computer — no Raspberry Pi needed. Plug the goggles into a Mac or Windows machine, install the small agent from the Live tab, and the picture appears in this browser. Recording, trimming and stream-out all run on your machine; the video never leaves it. Sign in to use it.

📺 Watch the direct live view demo

Support the project

To support continued development and server costs, you can buy me a coffee ☕ — or a steak 🥩:

If you want to contact us for improvement ideas, please email me at [email protected] or join the naco.media.box Discord.